What an ominously Pollyanna-ish title! So here’s what’s going on.
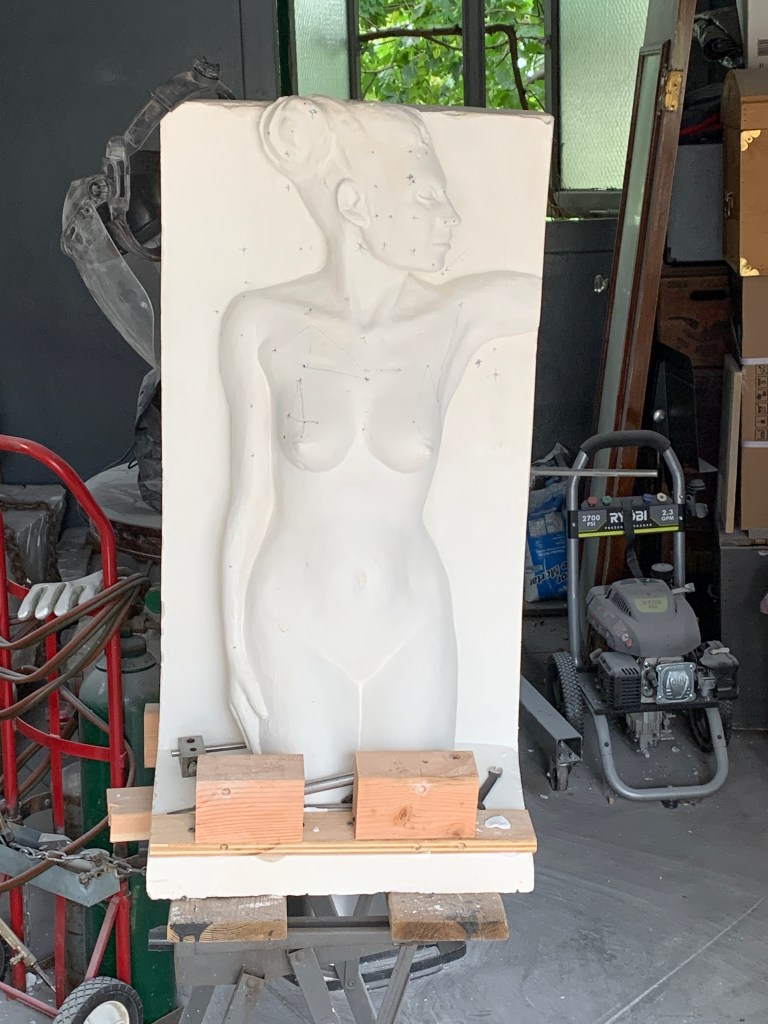
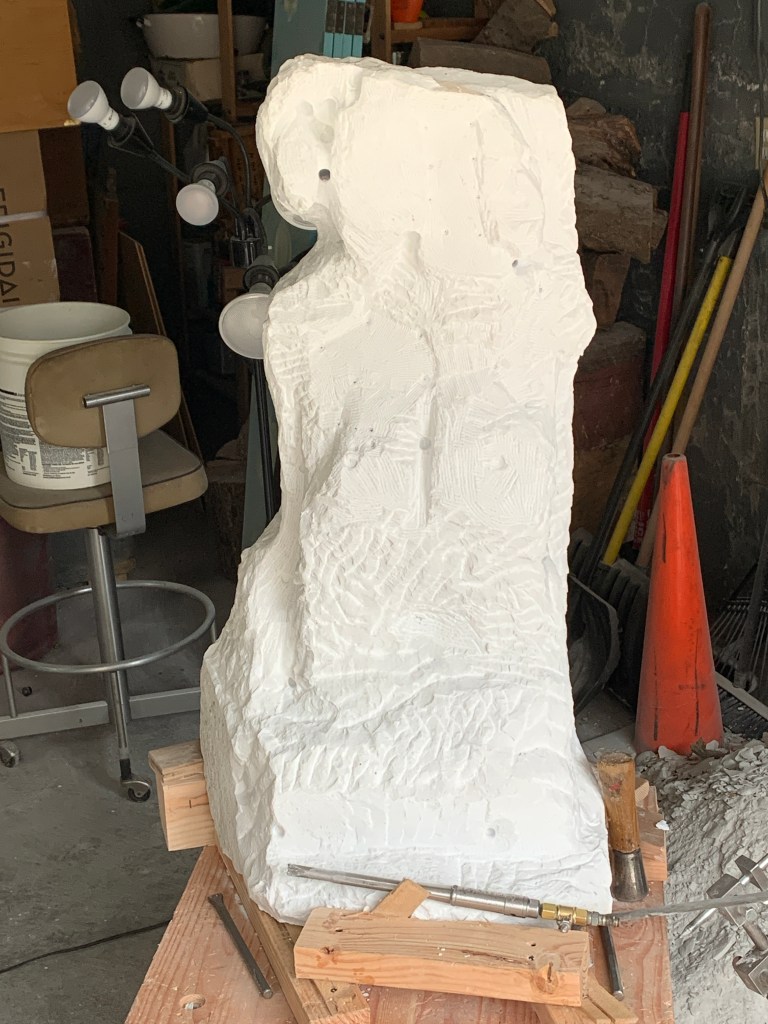
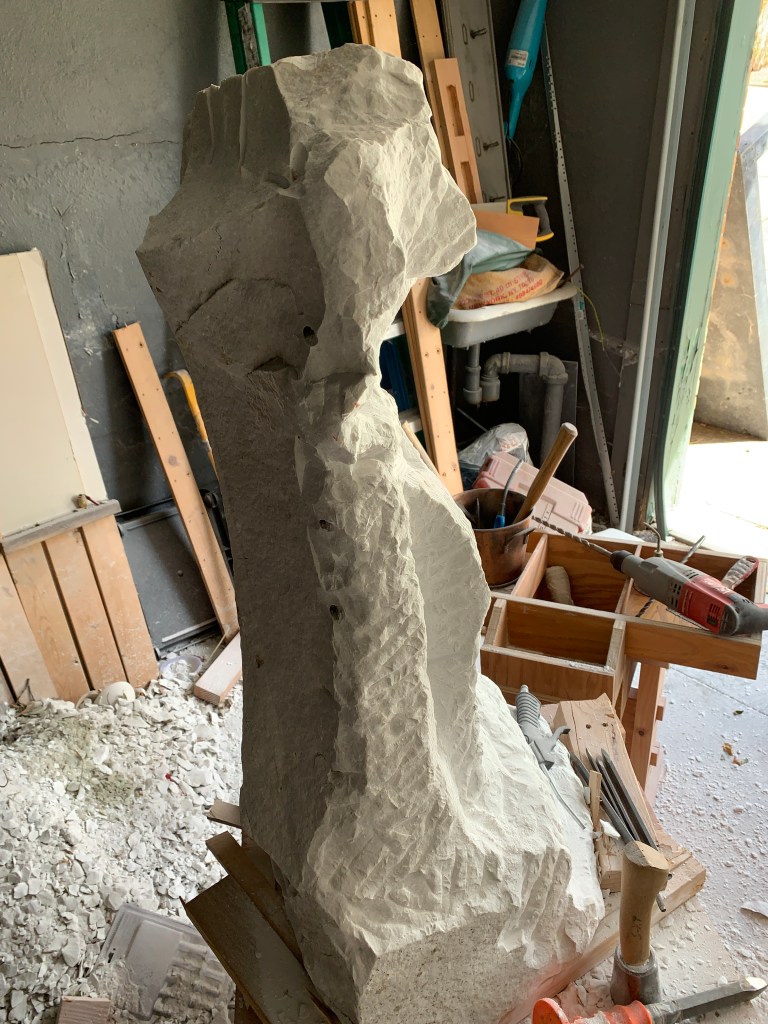
I’ve been chewing away at the stone, stripping off the thickest areas to make it easier to drill down to a denser array of points. In a few areas I’ve gone a step farther and taken it all the way down, leaving just enough for unguided finishing. You can see such an area on her right side just below the neck.
The piece has evolved, or more precisely, adapted, to my discoveries about the stone. Even before starting to do any real carving, I’d whittled away one-third or more of the stone that seemed suspect. The piece was supposed to be a deep relief on the surface of just one side of the block but there was so little stone left behind the figure, particularly on her right, that I’d decided to remove the background entirely on that side. It didn’t look right with just a thin slab behind her.
There’s so little stone left behind on her right. 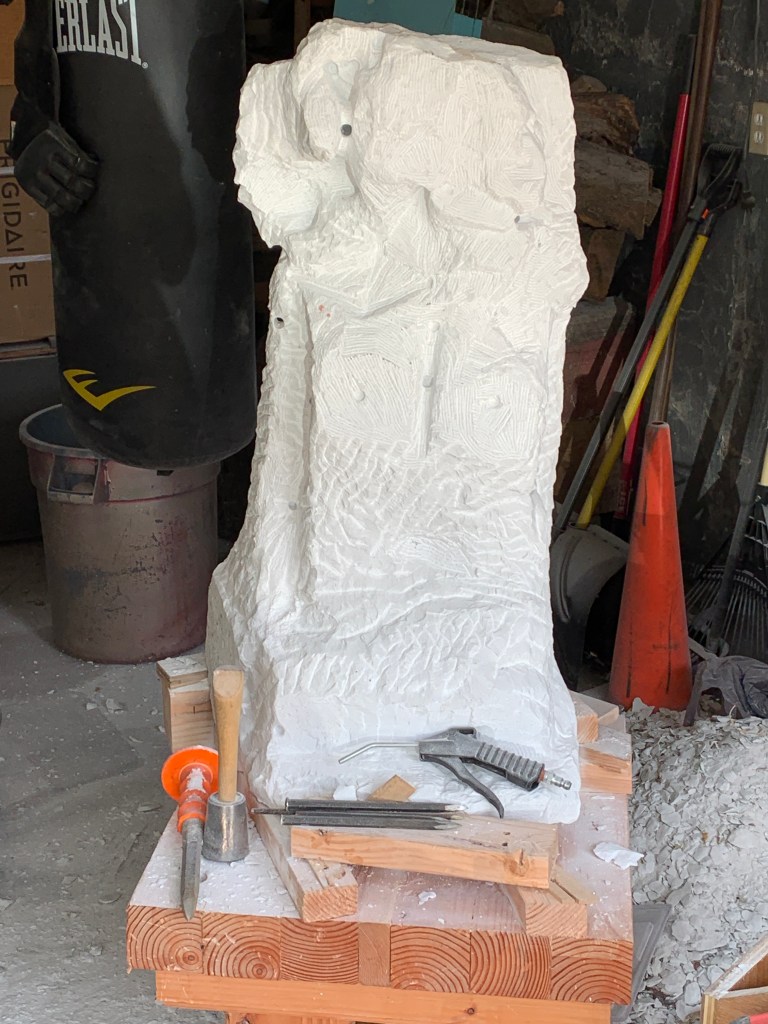
So I thought I’d dispense with it entirely.
The picture above on the left shows the background chopped away behind her right arm up to the shoulder
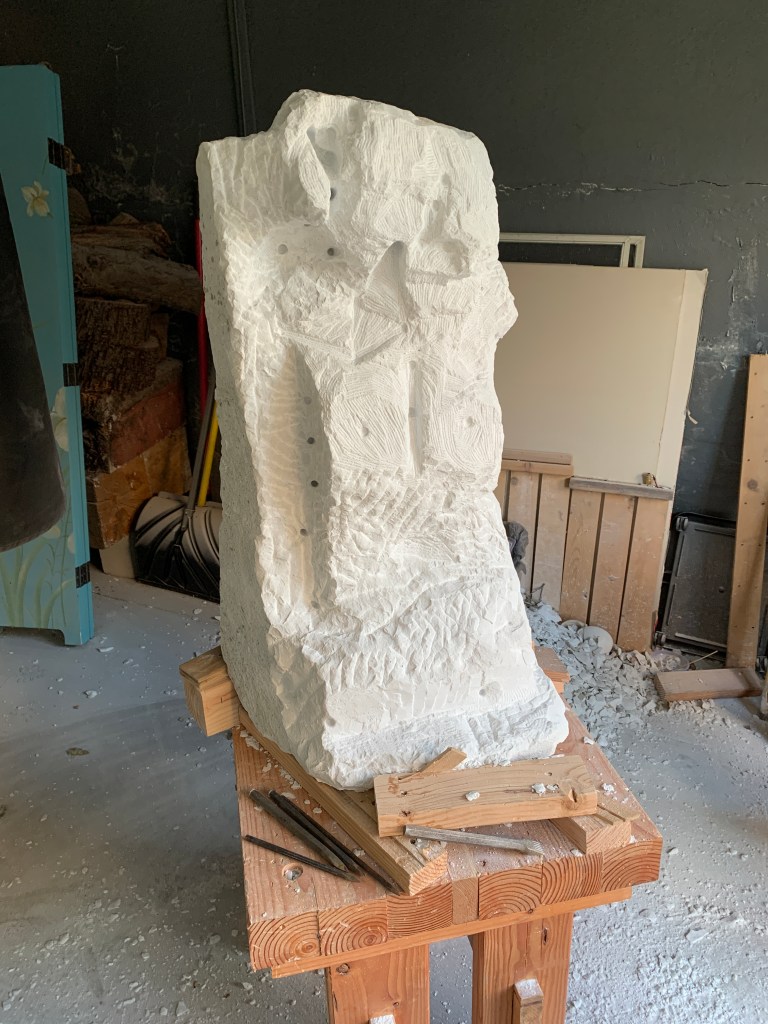
As I was chipping away the stone a little above shoulder level, a big chunk came away unexpectedly, revealing a large crack. You can see it below. The punch was coming down from above on the left side of the sculpture (the side facing the camera), and instead of just removing a chip, that whole pyramid of stone fell out. Oops. You can see in the picture on the left below that it’s about 2-1/2″ above the shoulder.
I’m kicking myself now, because if you look at the slightly wider view on the left, you can see that the flaw was in plain sight about three inches to the left (that little triangular shelf.) A blind person could have found it. Literally. It would have to be painted orange to be any more noticeable.
I have no idea how I missed it. All I can guess is that I wasn’t looking for it there because that was a newly broken face so I was thinking it must all be fine.
The chunk fell off a few inches above her shoulder. 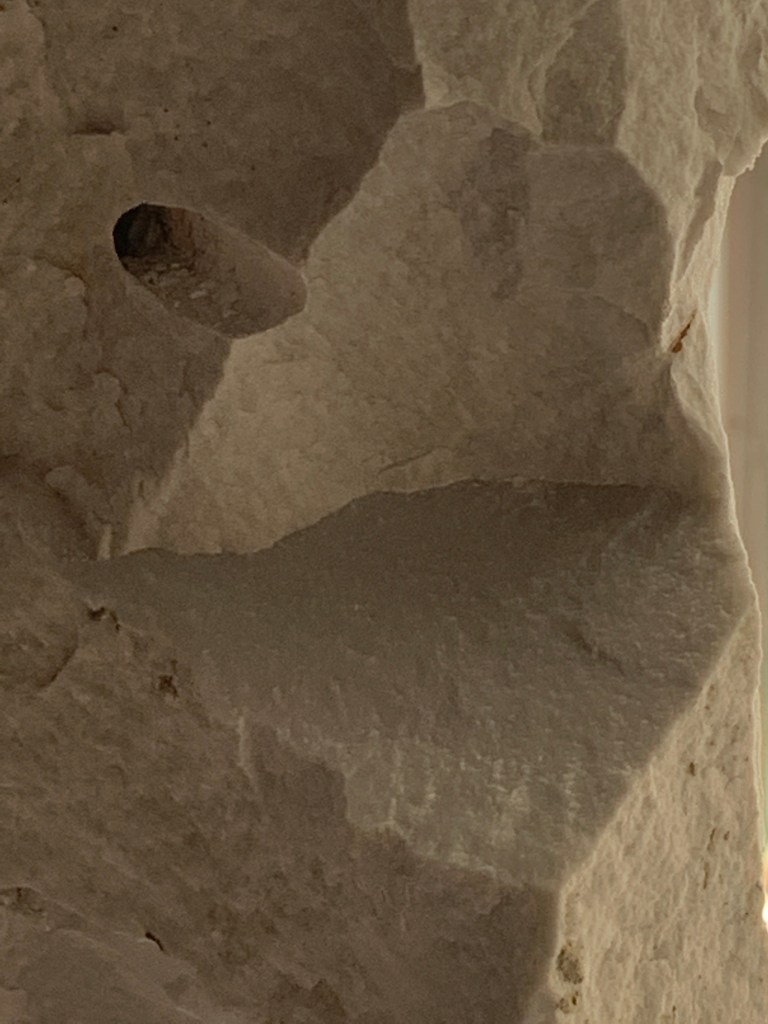
Close up. The punch was at the top-center of this picture. 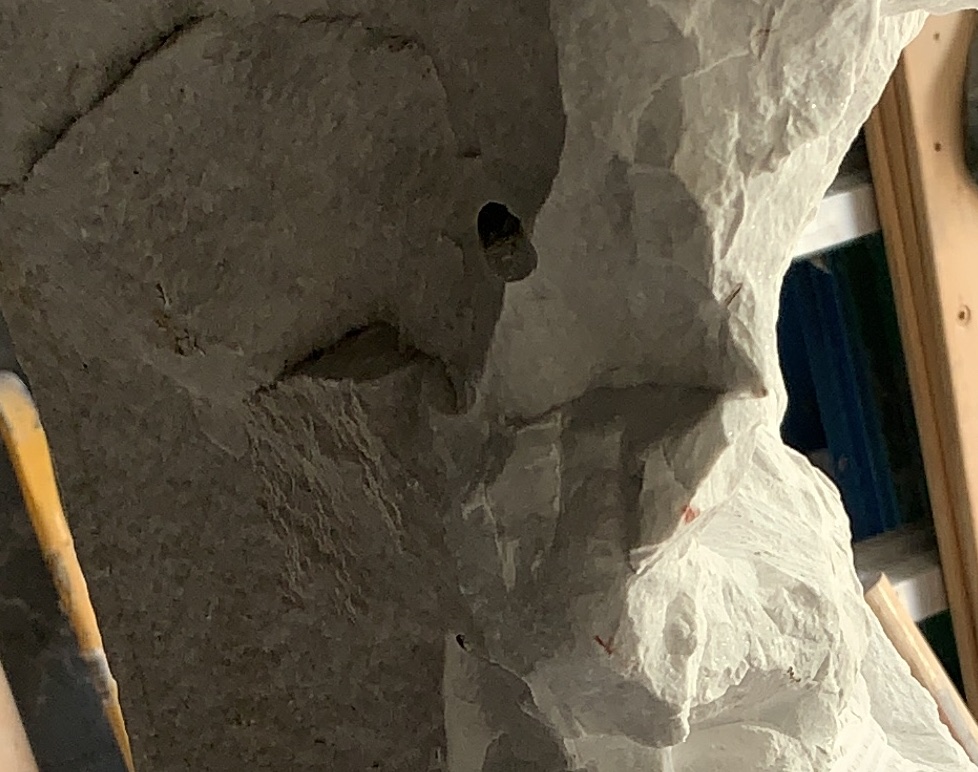
Look to the left–the flaw couldn’t have been more obvious.
The flaw seems to be with the bedding of the stone, and it runs upward towards the front. In the back it is about mid-neck, but if you extended the plane it would be about cheekbone height. Water getting into a crack probably caused this.
Fooled!
Actually, there is a second, similar flaw a couple of inches above the flaw in question. I actually remember spotting it when I checked out the stone, but I thought it was just a flake of stone that had broken off there when the stone was cleaved.
That’s it in the picture the left. At the widest that ledge is probably 1/16″ to 3/32″ inch wide. About like a pencil lead.
The high side is not a flake. The ledge is one side of a break that runs straight into the stone. As the stone split perpendicular to it, the break picked up at a slightly higher level as it resumed across the break.
The stone is dirty in this picture. Without the dirt you can hardly see the crack. I sprayed it with water and the tell-tale black line washed away with one squirt.
What I Thought I Was Looking At
The pictures below are and example what I thought I was looking at.
But I have to warn you, there is a bizarre optical illusion I keep getting stuck on. I can’t tell if it’s just me or if it works on everyone. The picture of the flaw above looks normal to me. The top 1/2 is maybe 1/16″ lower than the bottom 1/2, forming a little ledge.
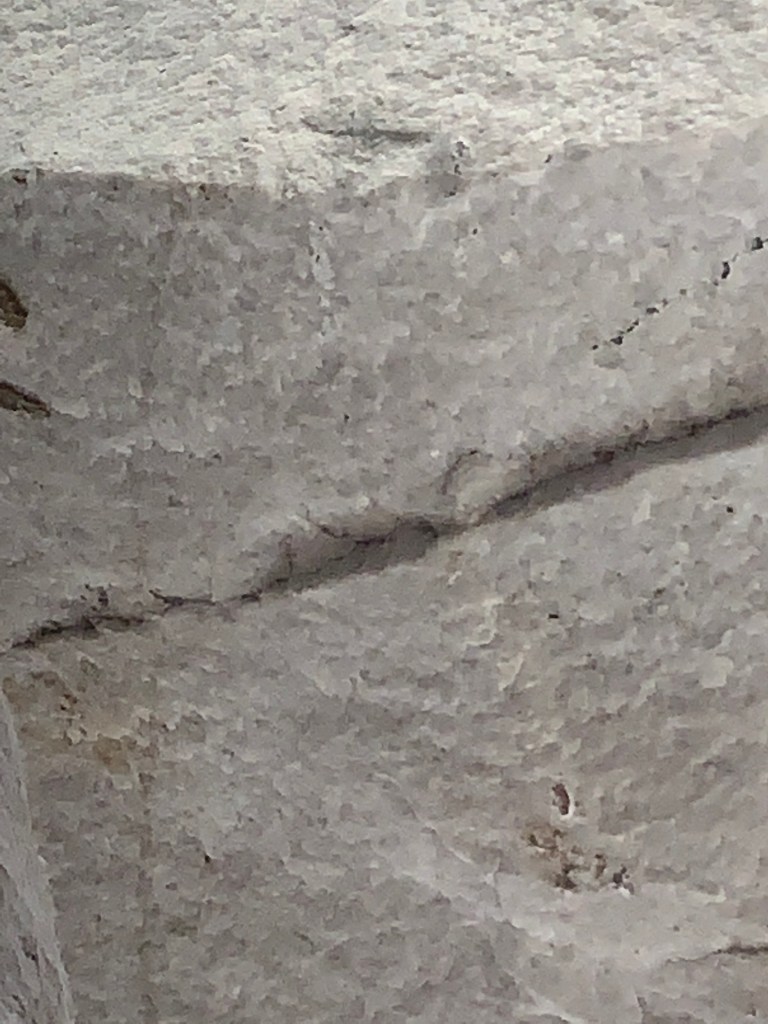
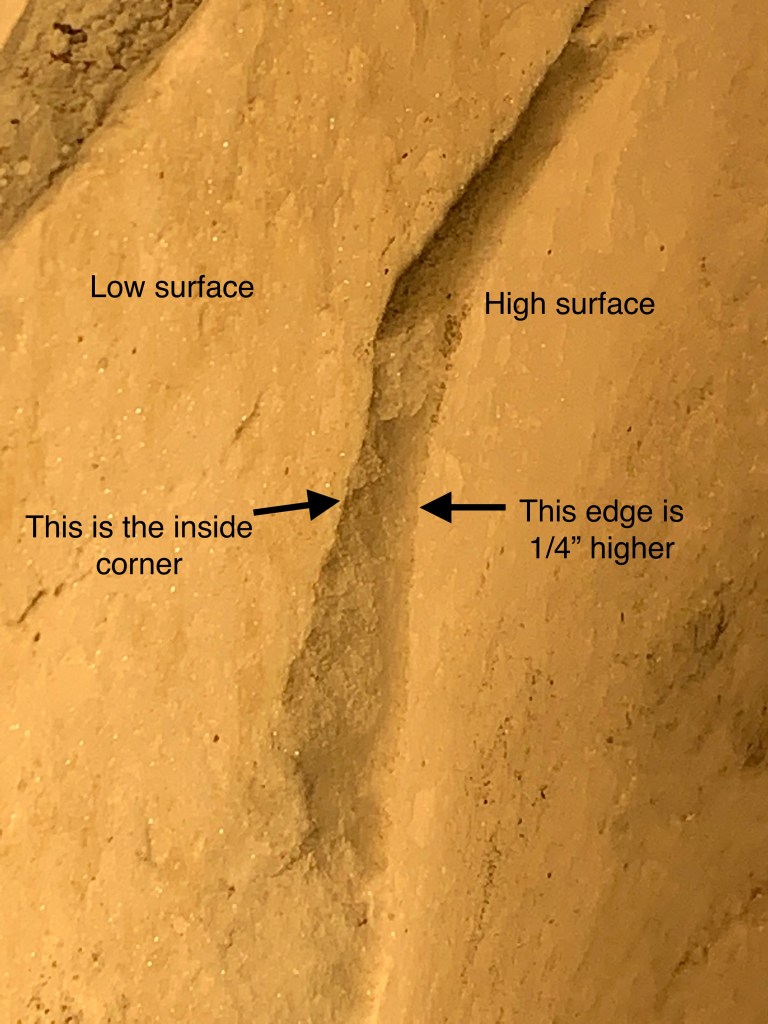
The picture on the left, below, is very similar. Again, you’re looking at a vertical, mostly flat face with a small step so that the area on the right side of the left picture is about 1/4″ higher than the area on the left side. There’s a sharp ledge dividing the two areas exactly like in the picture above, but perhaps a quarter inch high.
However, I keep getting stuck visually seeing it backwards, with the left half appearing to be higher. It’s so confusing that I went out to try photographing it three more times and I just can’t make it look right! The geometry is almost identical to the picture above but somehow it photographs backwards. Hmm.
The second picture below shows where I tapped a punch under the higher, right-side surface and popped off about half a square inch, so now the if you ran your finger upper left to lower right you wouldn’t get stopped by the ledge. At that spot, the lower level not just slopes up gently to the higher level.
The point is, to the eye, if not to the camera, the two discontinuities look almost identical but the first is a crack going straight into the stone and the other is just a surface flake.
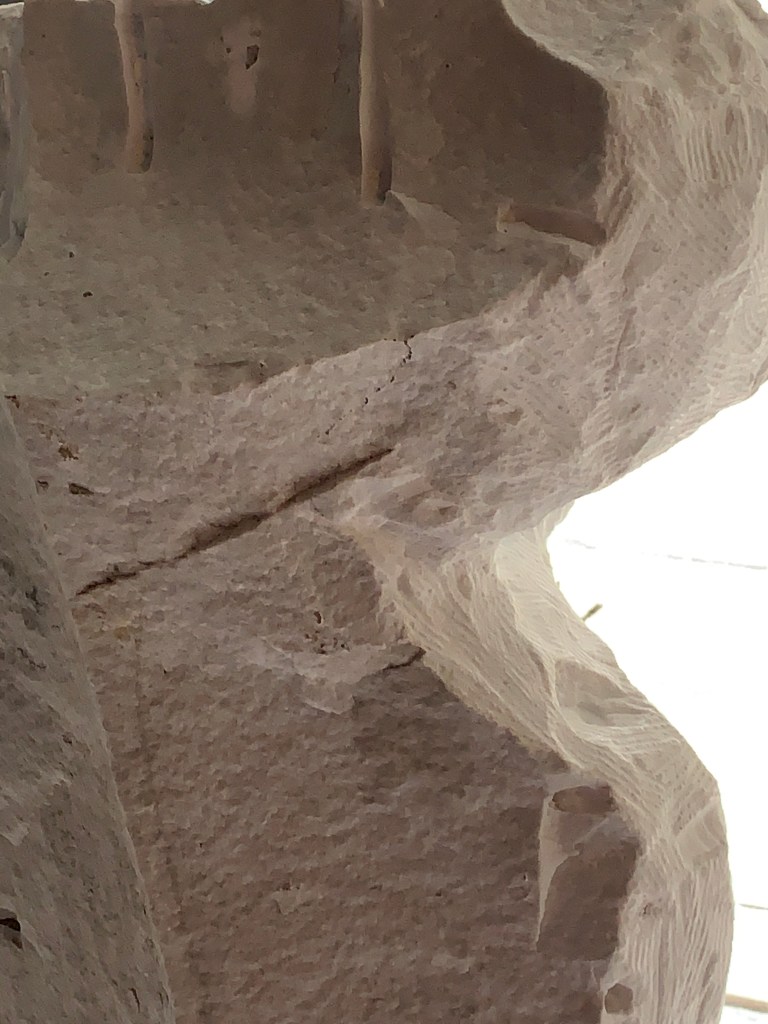
I threw in the third picture because I find the illusion with the stone columns on the upper 1/3 of the picture even more convincing. The “columns” are actually drilled holes exposed by a break. Even knowing that and trying to dispel the illusion I can’t see them as holes. I’m curious if everyone sees them that way.
This looks almost exactly like the flaw! 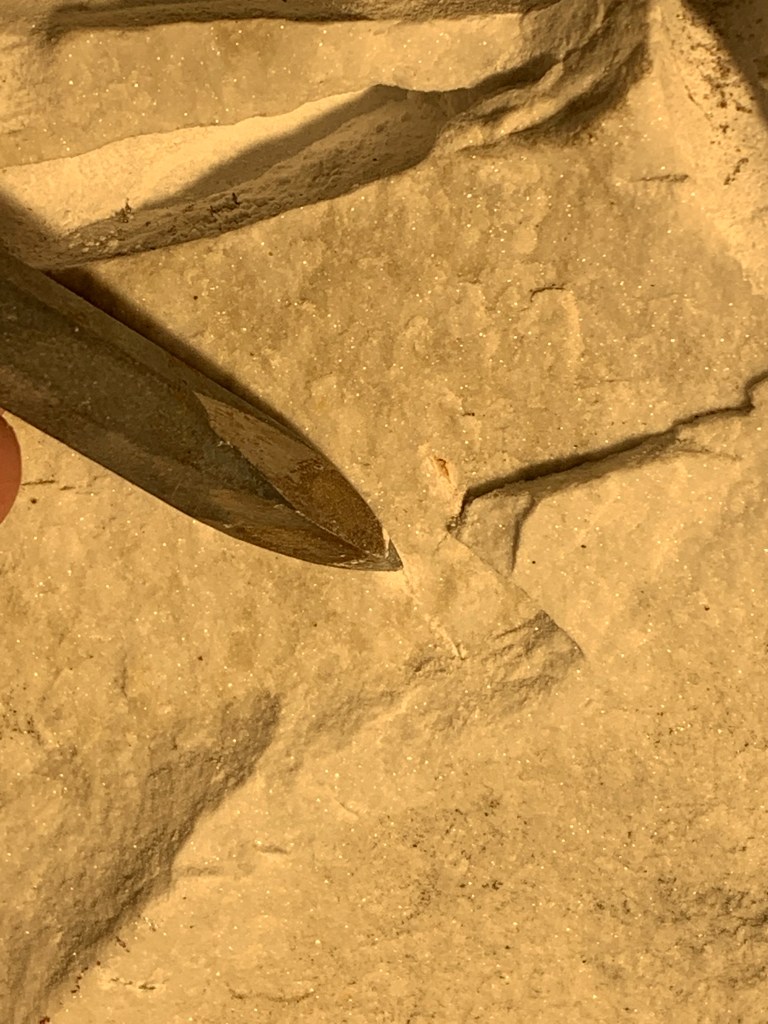
But it’s just a flake. 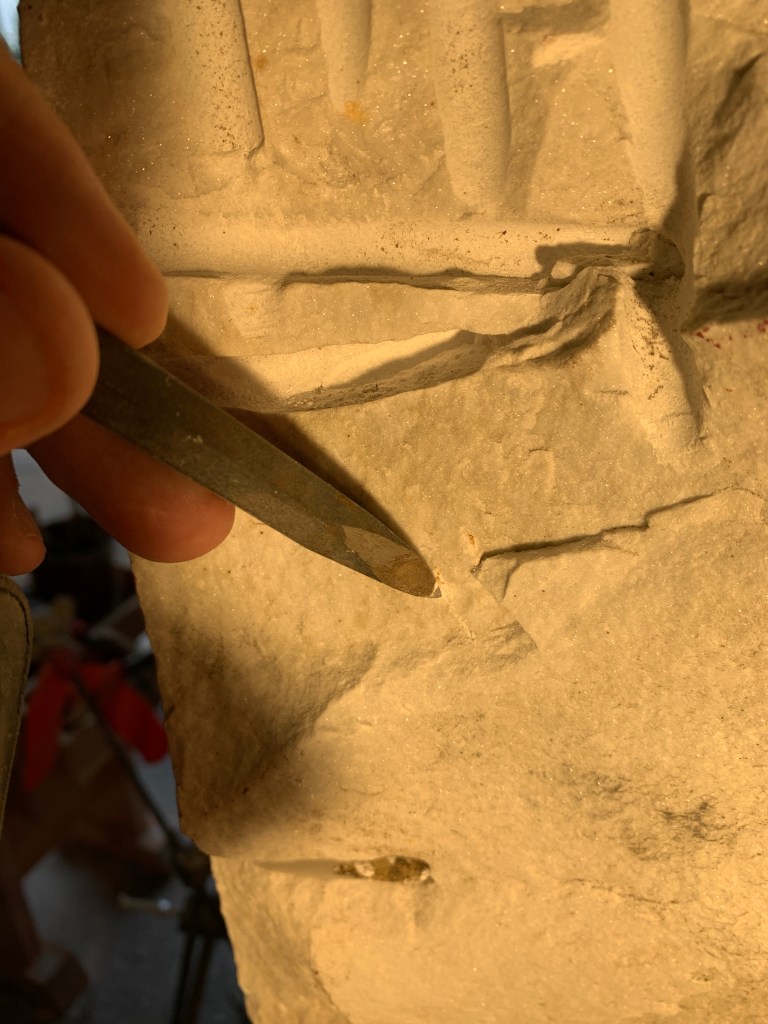
The cylindrical columns are actually holes.
Is There Hope?
The question now is, can the carving be completed without either of the cracks propagating the rest of the way across, cleaving her head in two?
I’m hopeful that it can. The entire area where the chunk fell out was supposed to be removed anyway. You can see a little tail remaining of the crack about 1/4 of the way up the picture in the center but I can’t detect it extending past where it’s obvious. Misting a surface with water will often make a crack visible because it leaves the whole surface slick except right over the crack where it gets sucked in. I saw no evidence of that, so perhaps the entire crack will be excised.
The crack above is probably similar. I’m not sure how much of it will be cut away. I’ll run cyano-acrylate glue (super glue) into them when I’m confident it is completely dry to reduce any tendency of the crack to propagate farther while I’m carving.