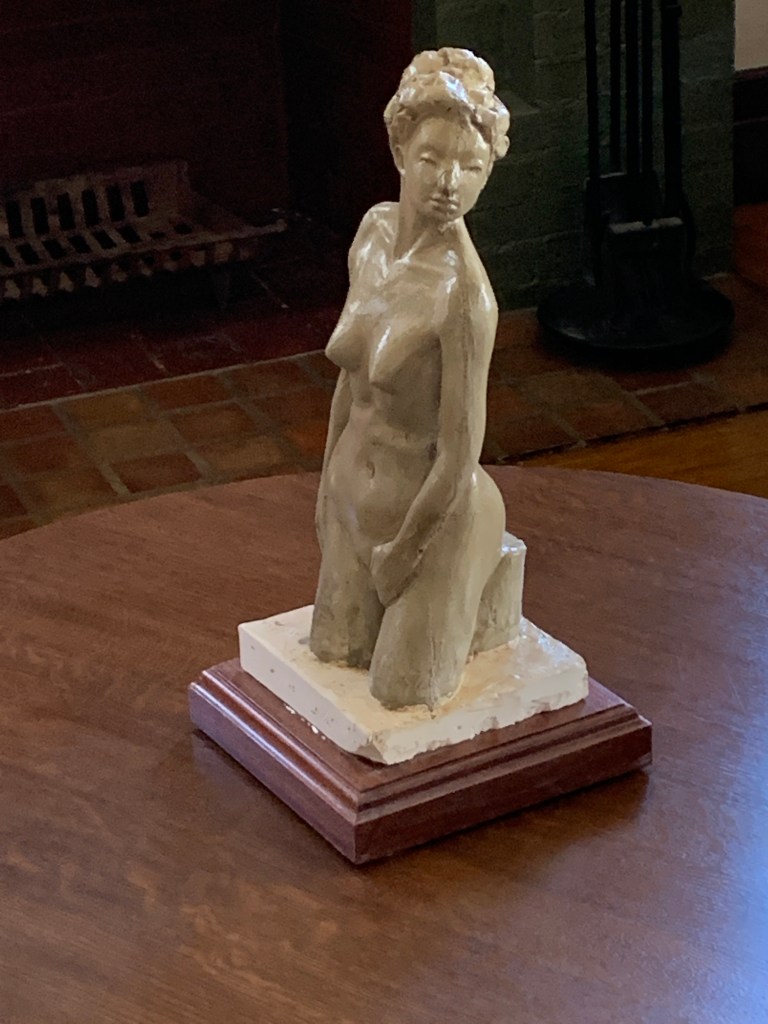
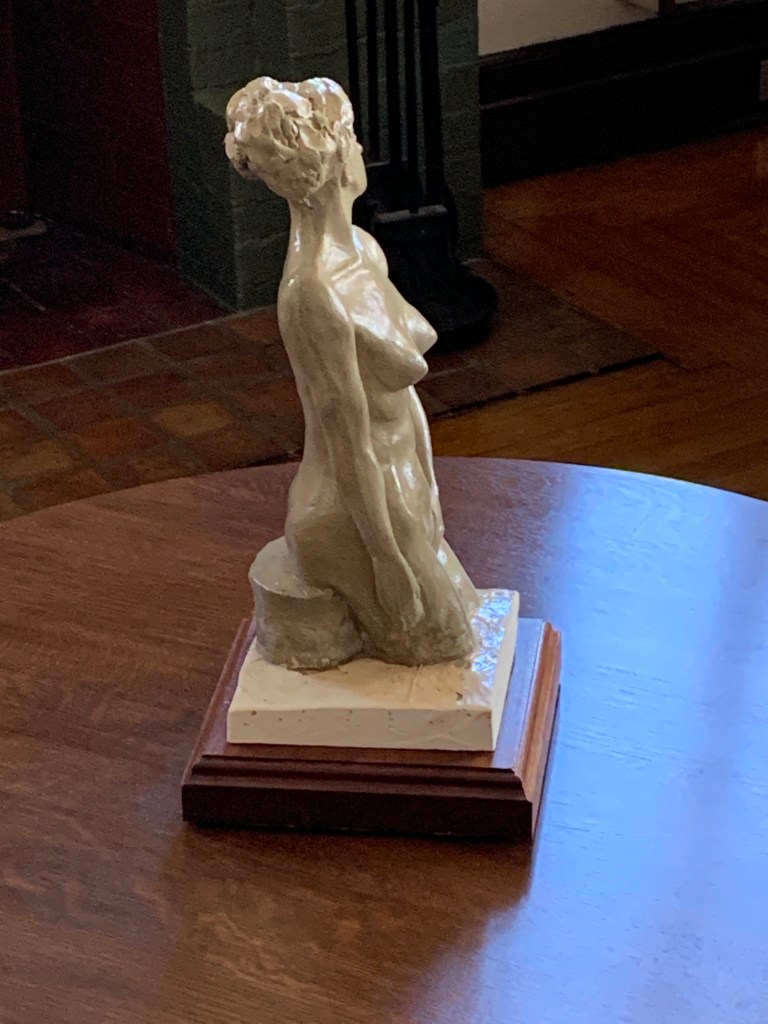
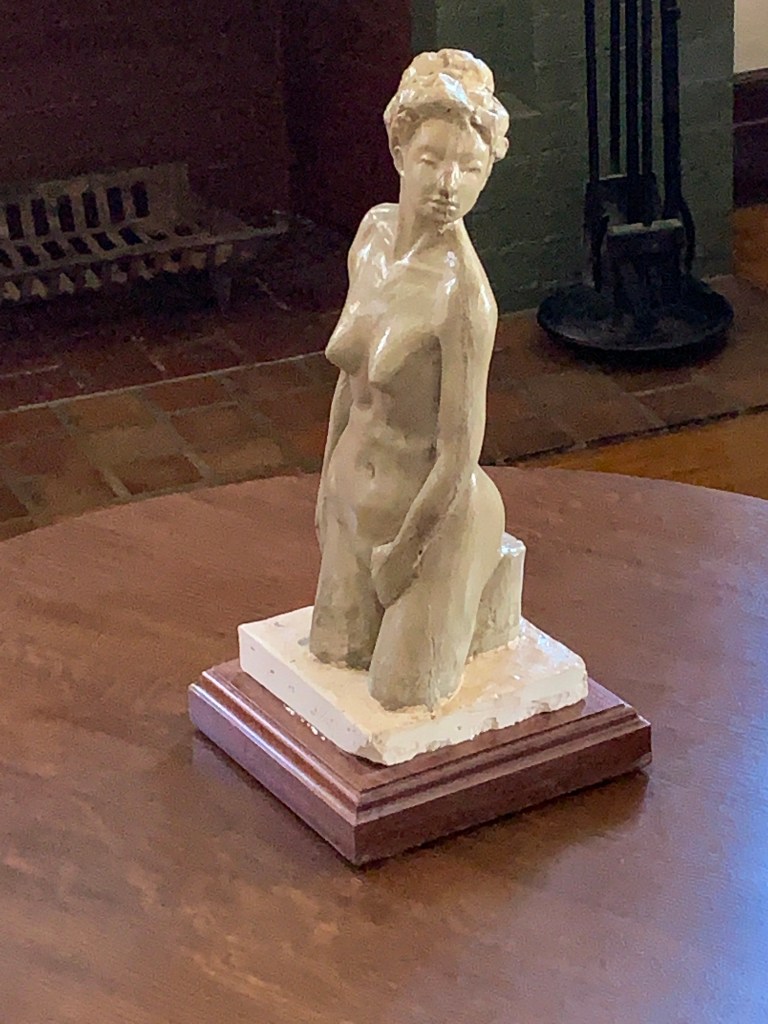
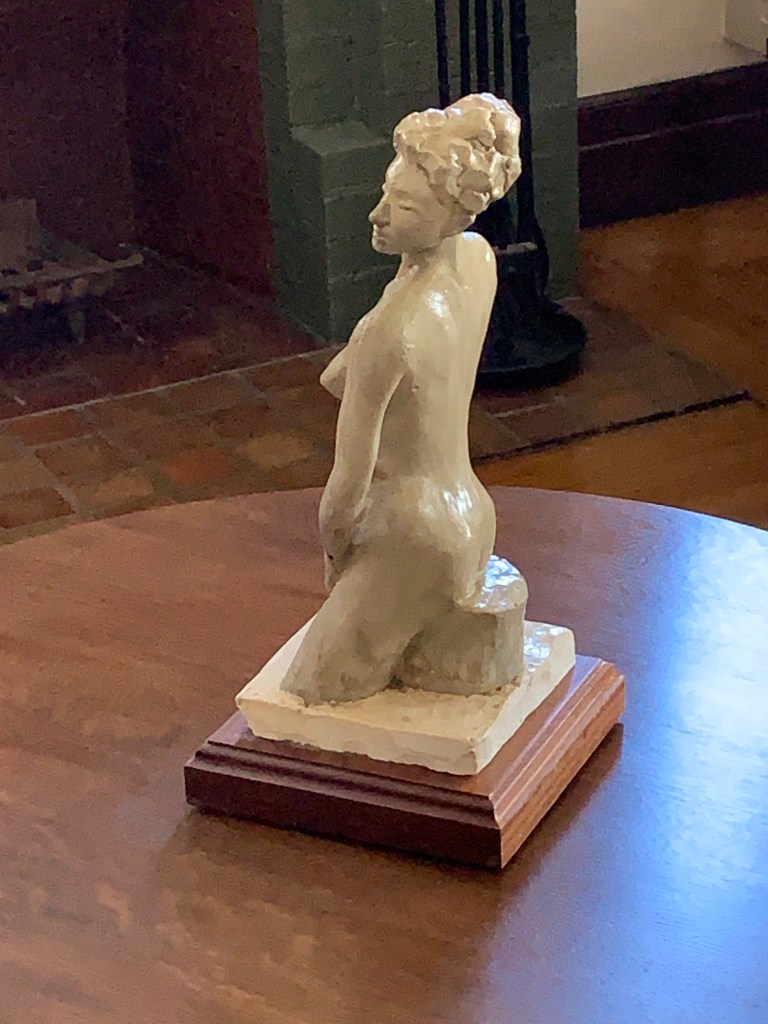
Version one of the model for the figure carving wasn’t quite what was needed. I’d made a mold before deciding to rework it but I’d never poured it. The clay popped out of the mold almost unharmed so it was easy to rework the aspects I didn’t like. I liked the placidity of her posture but the self-contained quality seemed looked to be to static if it were larger. I wanted some reference to the world outside the stone. The pose was after a classical Roman piece and it just wasn’t right in 2020.
And that’s the epitome of why people work in miniature first. You can try things without the inertia of hundreds of pounds of clay and iron. Not quite happy? Chuck it and try again–the cost is hours, not days and a vast pile of materials. It’s very freeing not just when you want to change something but because you aren’t reluctant to try something that might be a long shot.
Yesterday I found the remains of a sack of quick-dry concrete left over from working on a kitchen and remembered the mold. I love the pale gray-green of concrete, especially if it’s what is called “green” which means heavy on cement and correspondingly lighter on sand. (That’s what the sculpture featured in the blog’s splash screen is made of, too.) Details are below the photo gallery.
So it’s mainly quick dry cement, plus plaster of Paris for the base (for reasons explained below) and it’s fastened to a block of Sapele wood. There’s chicken wire inside to resist cracking. Every ingredient except the water to mix the cement, even the original clay, was scraps and leftovers from other projects.

It looked like there was plenty of cement in the bag but it was starting to go bad and a lot of it was lumps. After sifting out all the hardened chunks it still looked like plenty but it turned out to be exactly, and I mean to the drop, enough to pour the figure.
The cement was the kind called “rapid set” not ordinary Sacrete sand mix. You can use regular sand mix or mix Portland cement and sand 1:3 yourself but in my opinion, the rapid-set better. The quick setting helps minimize the problem of the plaster leaching the water out of the cement, which can be a problem because cement doesn’t harden properly if the water leaches out. That’s why masons are always splashing water on the brick. The quick set is not only all-around easier and better, it comes in smaller bags because it’s often used for patching and setting posts and railings, etc. in existing cement.
I’ve been doing it the way I do it forever but I’m sure it can’t be the best way when it comes to casting concrete. Plaster isn’t as sensitive to drying out as cement is and the technique I using is mostly used for plaster. Casting concrete that way is less common. It would probably be better soak the mold in water before pouring the cement so that the plaster doesn’t wick out the water but don’t try it on something you care about unless you are sure that whatever you’re using for a separator is compatible with subsequently soaking it. I’ll do some tests one day soon and get a definitive answer because I’m planning a number of pieces with cement as the target medium.
A small square base had been part of the original clay and was therefore a part of the mold but the cement came exactly up to where her legs met the base. After I literally wiped the mixing bowl and cake mixing spatula clean it filled the mold exactly to that line. Some days everything just goes right; I filled the rest with ordinary plaster and it ended up looking better than it might have if it were all cement. I’ll remember that.
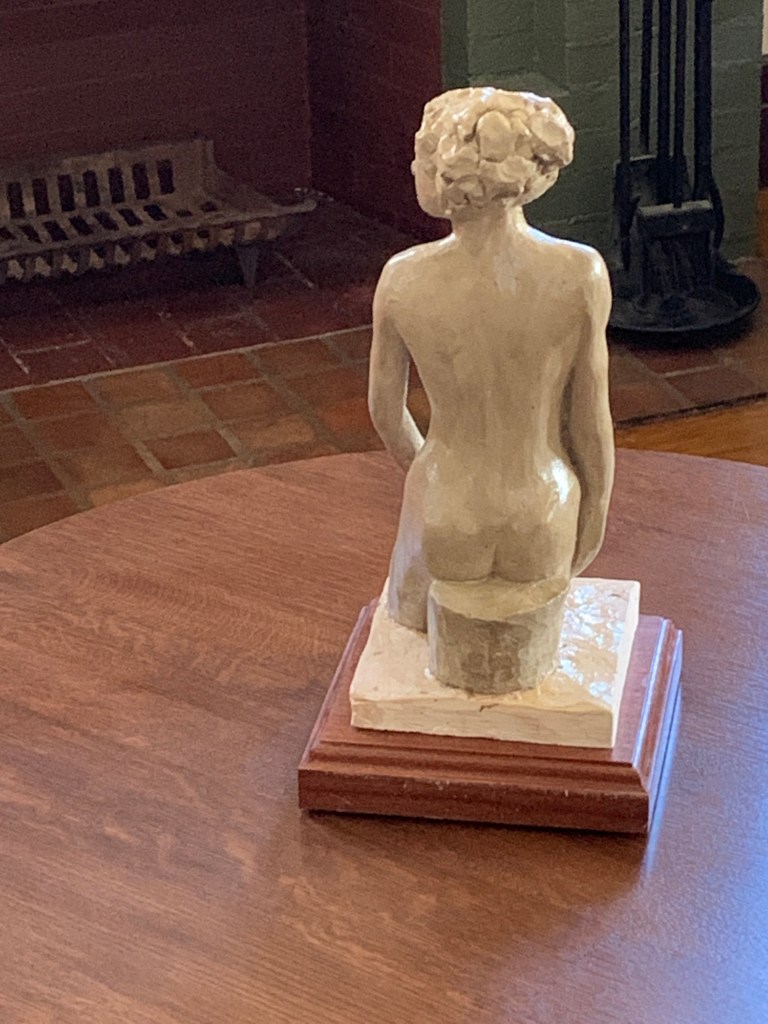
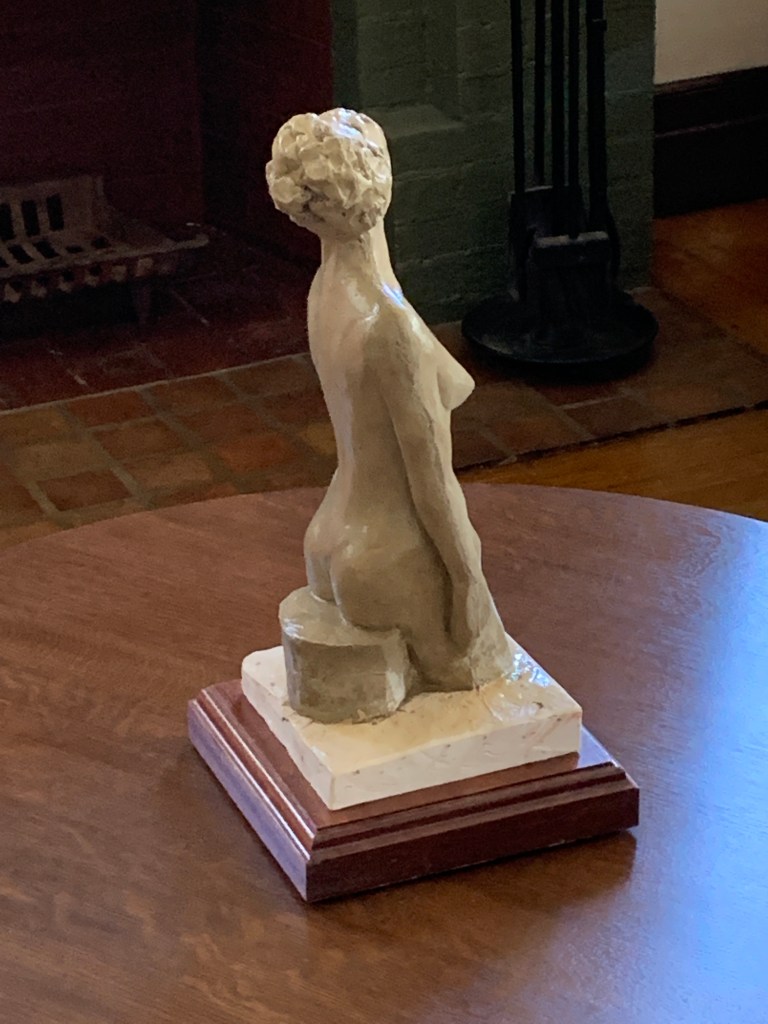
The original was ordinary gray potter’s clay, the waste-mold was plaster that I shellacked and sprayed with silicone (just the ordinary spray-can of general purpose household lubricant.) There is chicken wire rolled up inside all the thin parts, the base, and where the figure attaches to the base. Concrete combined with anything like chickenwire or 1/4 inch wire cloth, wire lath, etc. is incredibly strong. It’s called “ferro-cement.” I knew a guy who made a 50 foot ocean-going sailboat out of it because pound for pound it is stronger than wood.
Removing the mold was just a matter of breaking off the waste-mold with chisel and hammer. Water beads up on the silicone so plaster hardly sticks at all so it came off very easily but I did manage to knock her nose. Fortunately it glued back on just fine. The ease with which the plaster comes off makes it easy to break things if there are undercuts because a big piece will pop off and it can lever off a small piece on an edge.
One of the skills of using plaster molds is planning the pieces so the come off easily without undercuts that will cause this kind of breakage. One trick is to cut into the walls of the mold around tricky spots to leave voids that will give the waste plaster somewhere to go when you de-mold. I did this, for instance, in the mold area between the left arm and body. I hollowed the plaster out so that it could break up and not act like a lever expanding the arm away from the body.
The whole thing is epoxied to the wooden base with some screws through the wood into loose holes in the plaster/cement that are poured full of epoxy. I set the screws into epoxy because using anchors screwed tightly enough to be secure might have cracked the concrete or plaster.
The last thing was to spray it with a light coat of shellac. It deepens the color much as wetting it would and eliminates the dusty look of bare concrete.
