Making The Clay Miniature
As I mentioned in the A Figure In Stone #1 I’m going to start with a 1/2 scale model and enlarge it. Here’s how the small version came to be.
Model #1
I don’t usually work with a live model in front of me. A real person might be the inspiration, but I use photos, anatomical references, and memory, then make quick checks with a live person. This is a model; it is not intended to be a finished piece. It’s about getting things where I’ll want them in the finished carving.
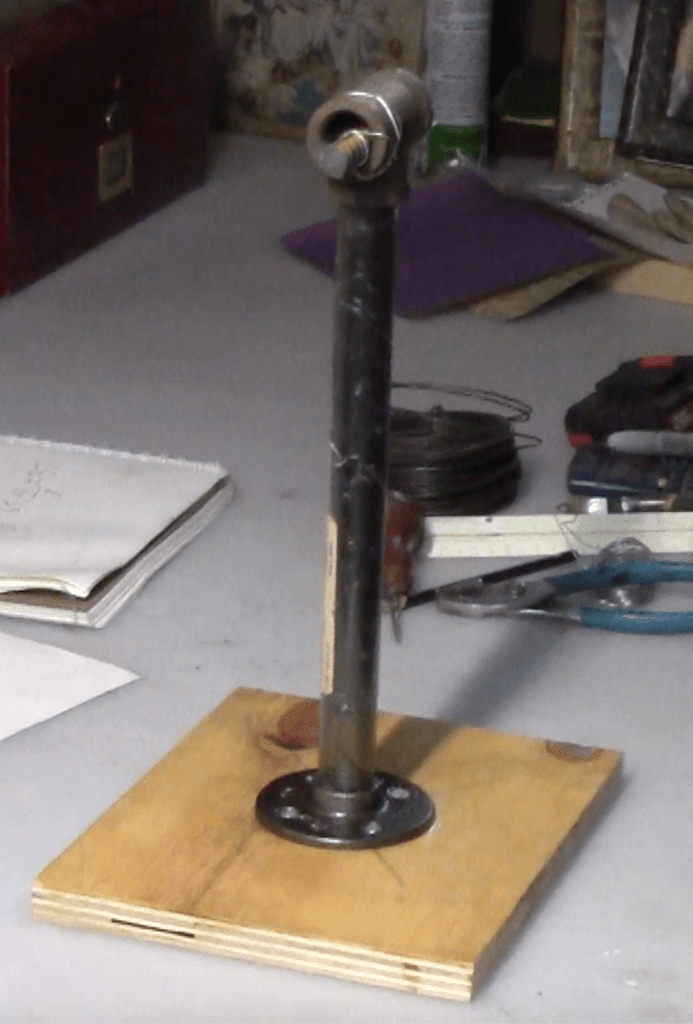
One inch pipe screwed into a floor flange. 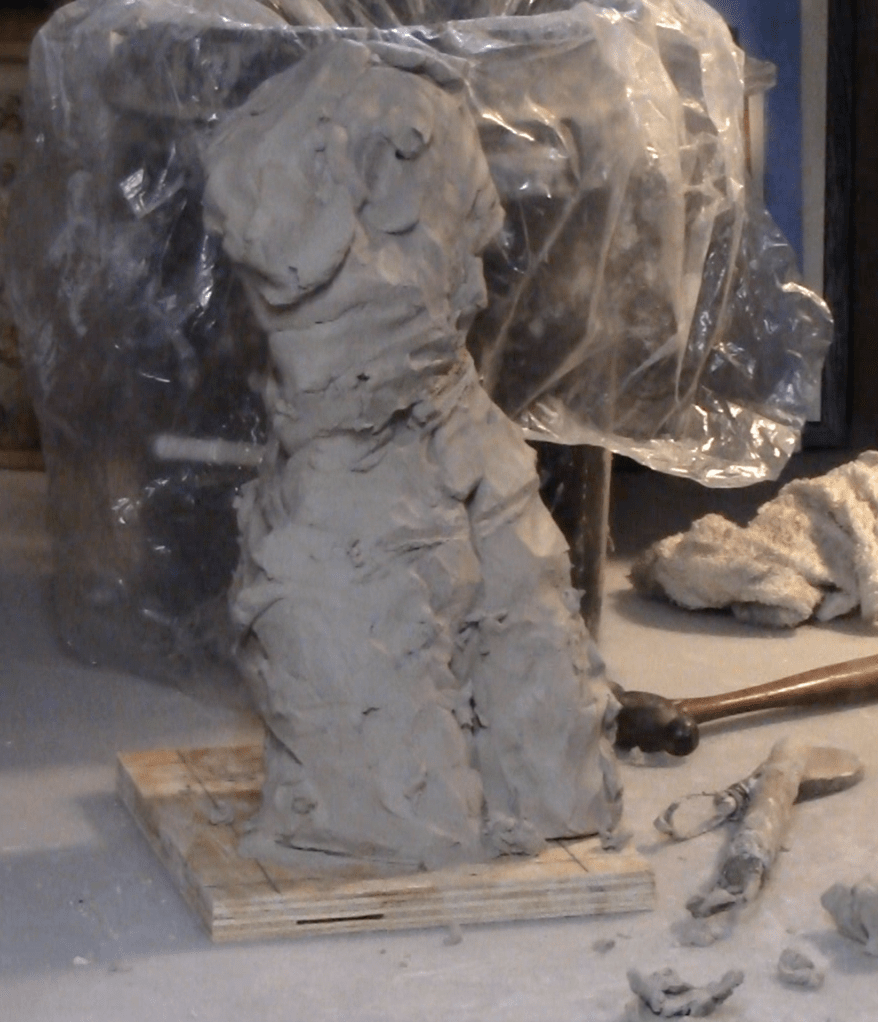
I actually kind of like it like this! I’ll keep that in mind. 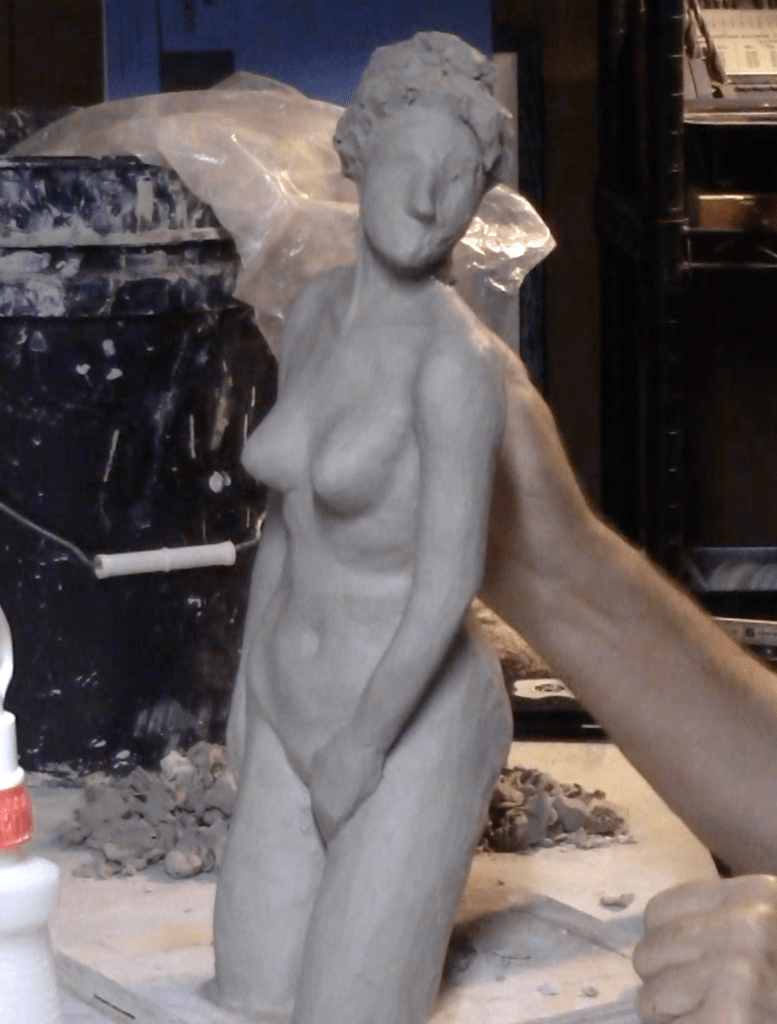
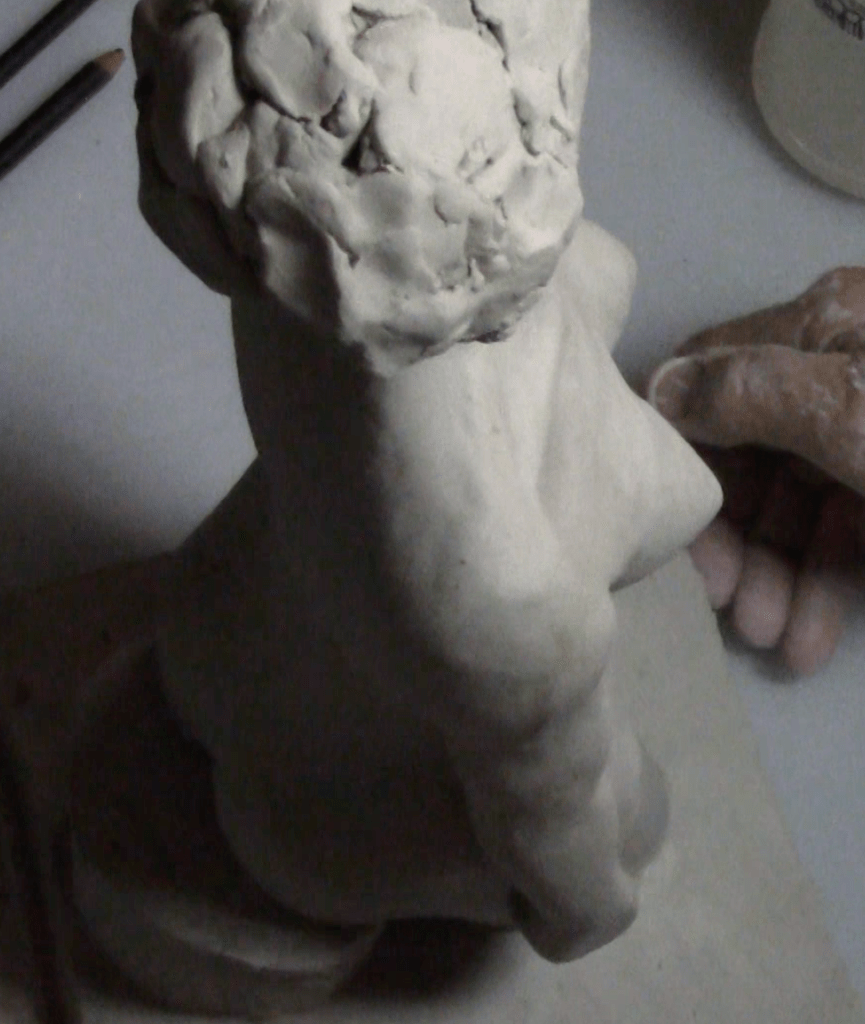
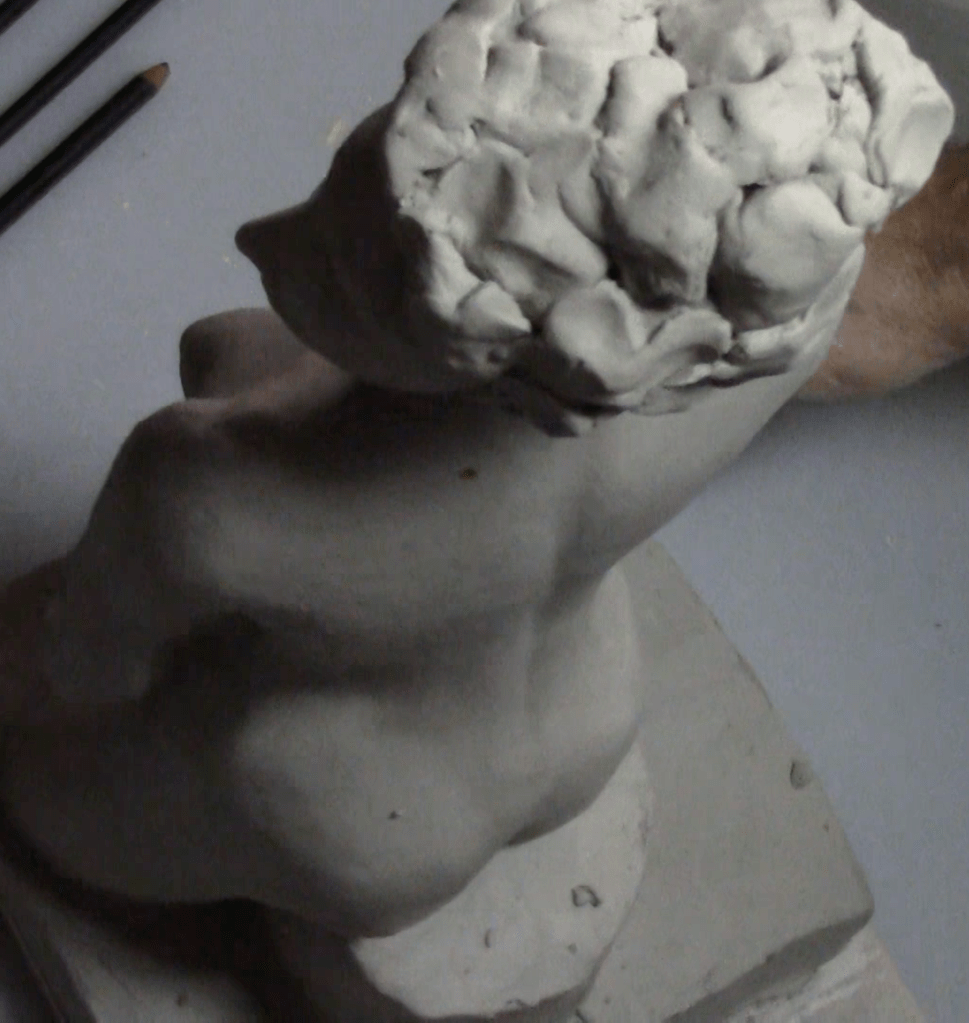
Getting there… 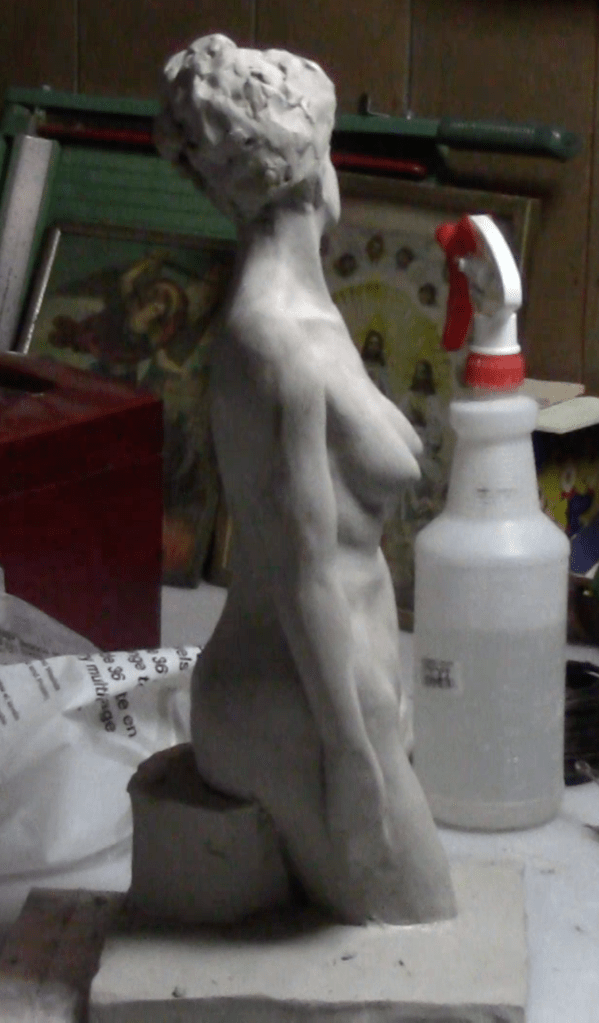
The clay dam for making the first half of the waste mold. 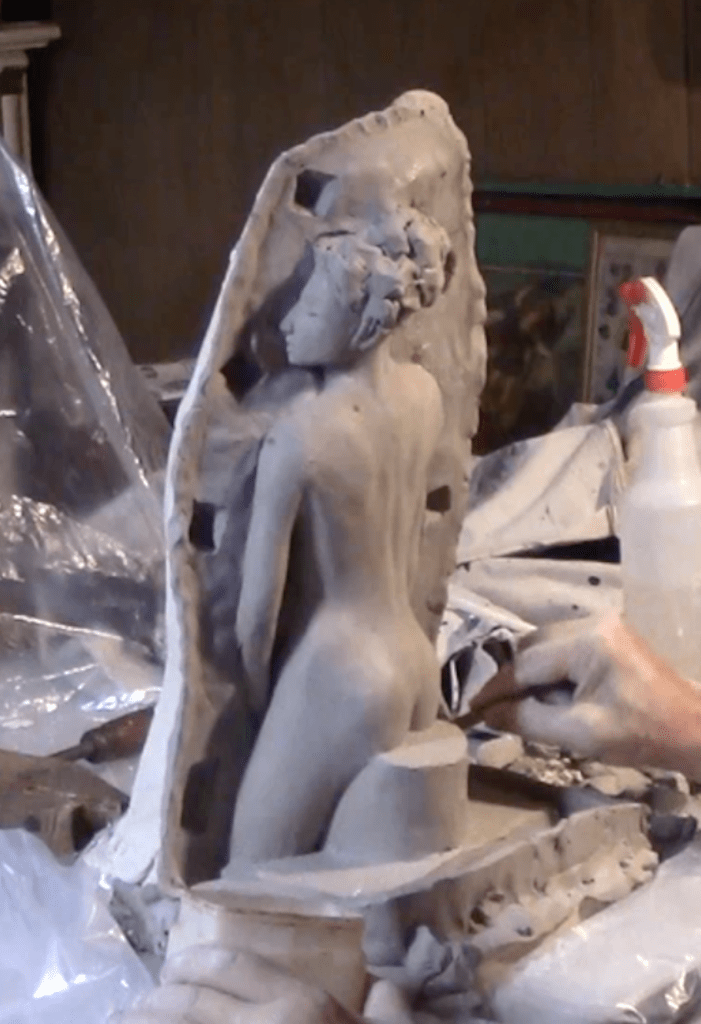
The first half completed Don’t forget mold separator!
I’m using the word’s simplest armature. Just a vertical piece of 1″ pipe. I added butterflies and other stuff to hold the clay but it was unnecessary and in the way so I ended up taking it out.
The material is gray potter’s clay. The target sculpture is actually high-relief, but I’m going to do the initial model in the round anyway because it makes it easier to get the parts you can see right.
The last couple of pictures show the mold-making process. In the next-to-last you see the temporary clay wall used to separate the mold halves. You can use thin metal shims for this but they leave a very visible seam. Note the truncated pyramidal keys tacked onto the wall. They ensure that the mold halves will line up. These pictures are confusing because I put colored chalk in the first layer of plaster and it turned it almost the same color as the clay. In the final picture, the first side of the mold has been made and the clay wall removed, leaving hollows where the keys were. The plaster will be greased up with Vaseline before I do the back half of the mold to prevent the plaster sticking. You don’t need a mold-release for the clay because plaster doesn’t stick to clay. In fact, clay slip is a better mold release than the Vaseline I used here.
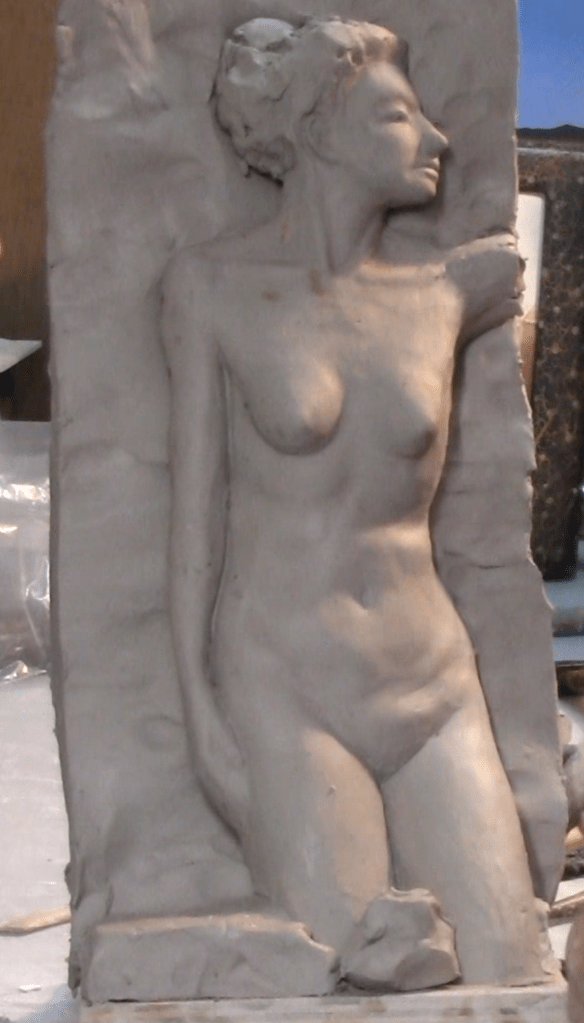
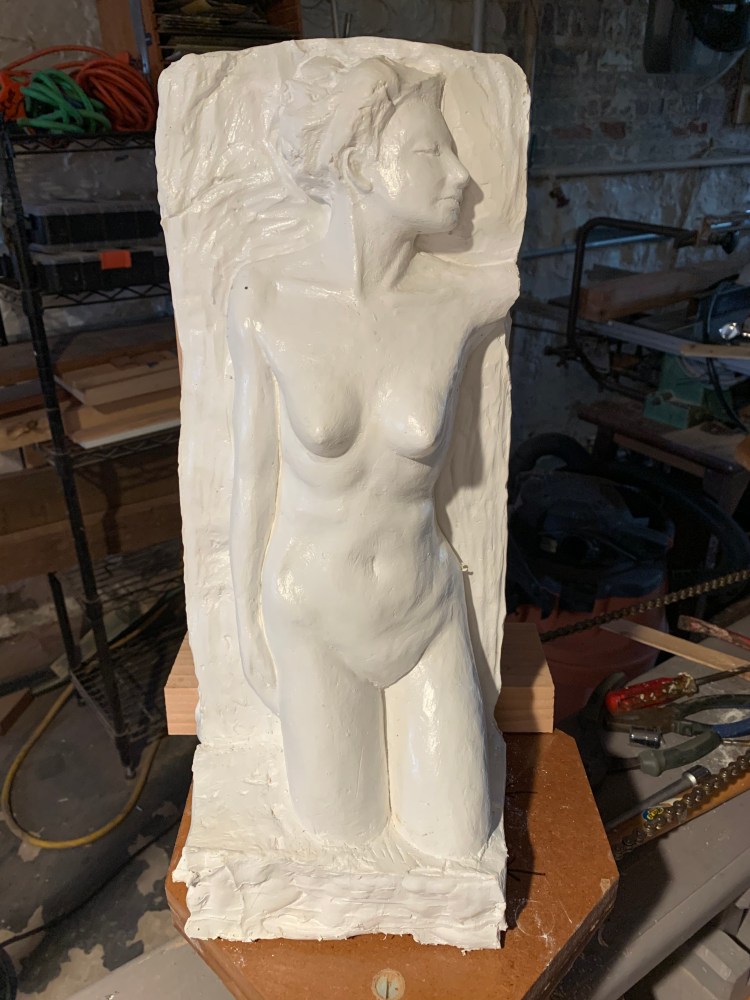
Too Bad
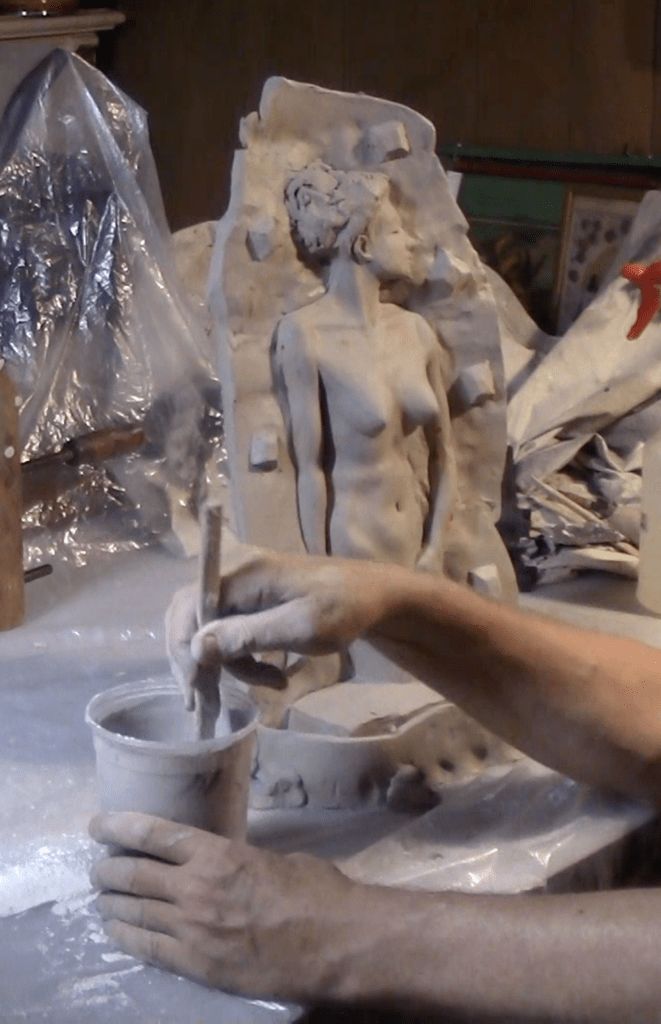
Whew–that was a lot of work. Too bad, because after looking at it more, I decided the figure wasn’t quite what I wanted. I put it aside and reworked the same basic form into the more frontal version below. Her left hand is no longer modestly across her lap and she’s looking at something outside the block that she’s either reaching for or pointing to. So here’s the process for the one I’m actually going to use.

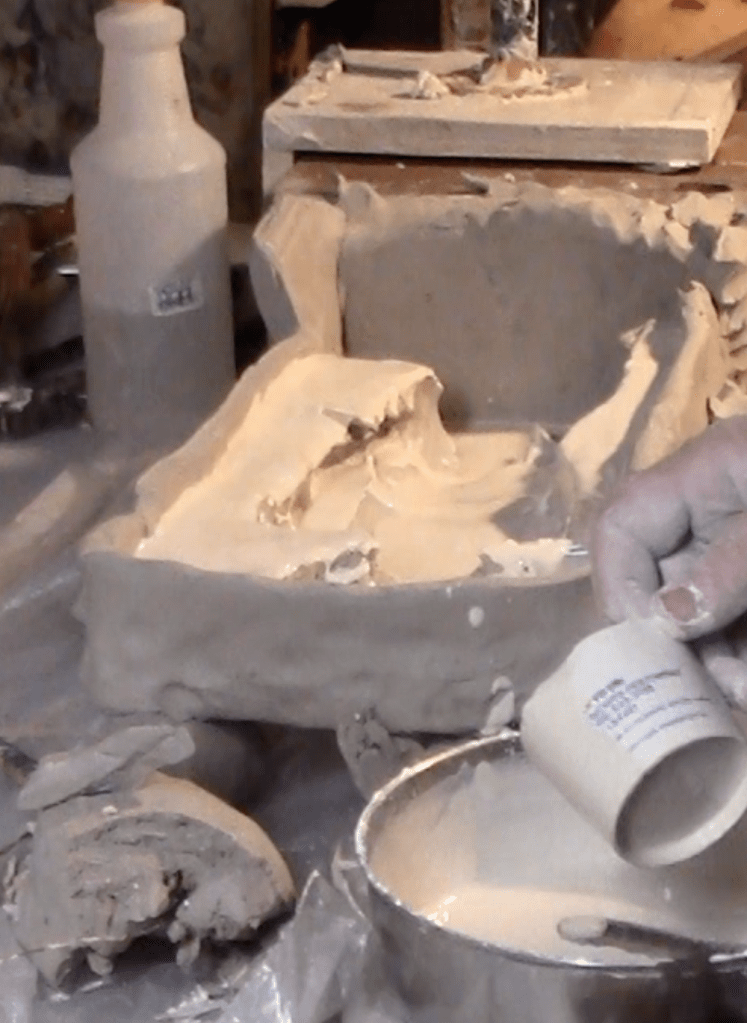
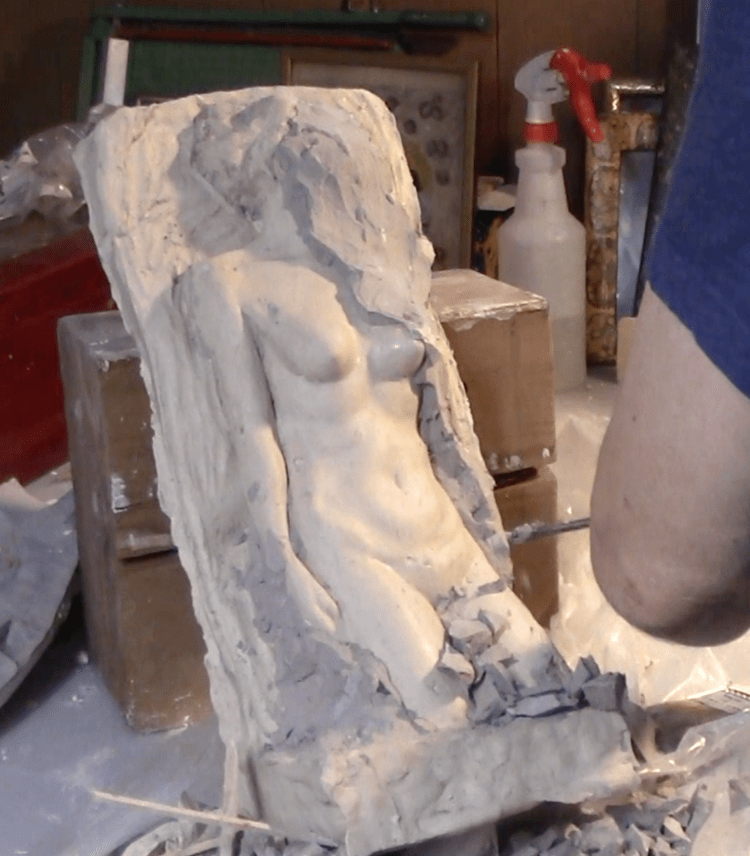
You can see the the mold making got easier. It will be a one-piece mold. I used clay to make walls to confine the mold-plaster. In the third picture the finished mold is lying down ready to be poured, again with clay walls to confine the plaster and Vaseline as a mold release. If you forget the mold release, just toss it, cause you’re done. A real plaster mold making pro would probably have used slip instead of Vaseline. You can do that, but remember that slip doesn’t seal the mold, so if the plaster has gotten too dry, it will suck the water out of the plaster you pour into it, which interferes with hardening.
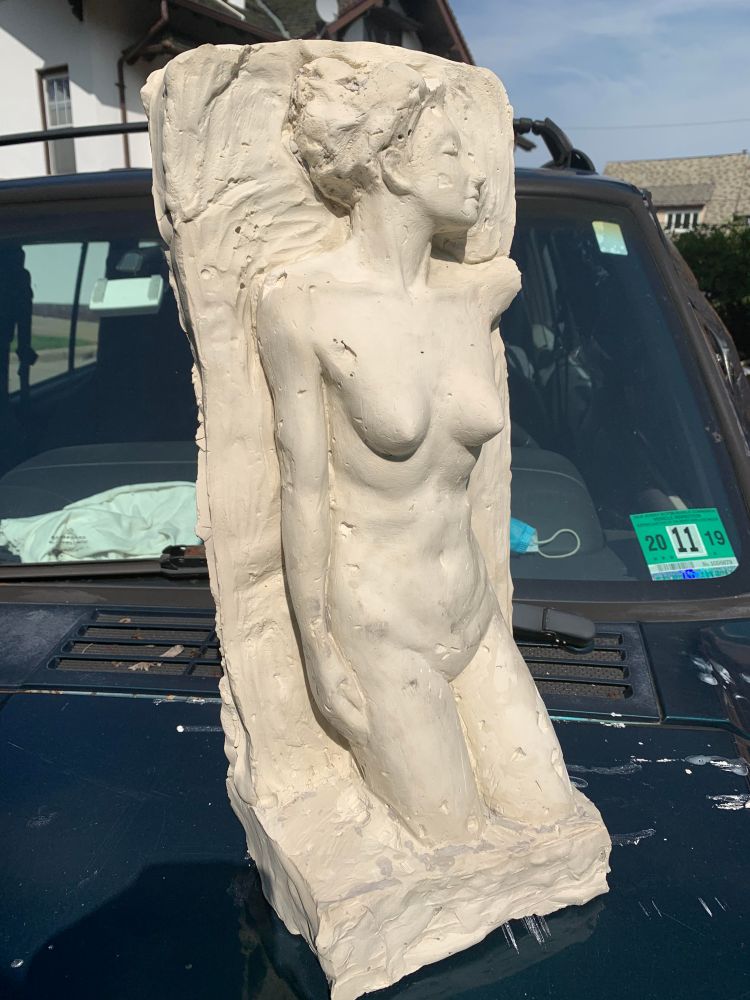
In the fourth picture I’m knocking off the mold with a screwdriver and hammer. I’ve got chisels galore, but screwdrivers are the ideal tool for removing waste molds. I managed to ding her with the screwdriver tip a few times as you can see in the picture of the piece sitting on the hood of the jeep to dry in the. If you can’t put a piece outside, put a fan on it and it will dry many times faster. In the final picture she’s been patched and painted and is sitting on the enlarging machine.
Next time, we enlarge it!
